Most “zombie wounds” look like someone smeared red lipstick on raw meat—unconvincing, messy, and gone by midnight. You spent hours watching YouTube tutorials, bought every palette, yet your forehead still screams “failed art project,” not “undead apocalypse survivor.” Here’s how real special effects artists build layered, gory, camera-ready wounds—without needing a Hollywood budget.
Why Your Zombie Wounds Always Look Fake
Most DIYers skip texture. They focus on reds and purples—but living flesh isn’t flat. Real trauma has depth, elevation, irregular edges, and subtle color shifts. Slathering liquid latex alone gives you a shiny, rubbery blob—not necrotic tissue.
And lighting exposes everything. Under streetlights or phone flash? That wound flattens out instantly. The illusion collapses. You’re left with cakey makeup and regret.
How to Create Believable Zombie Wounds (Step-by-Step)
Gather the Right Tools—Not Just the Trendy Ones
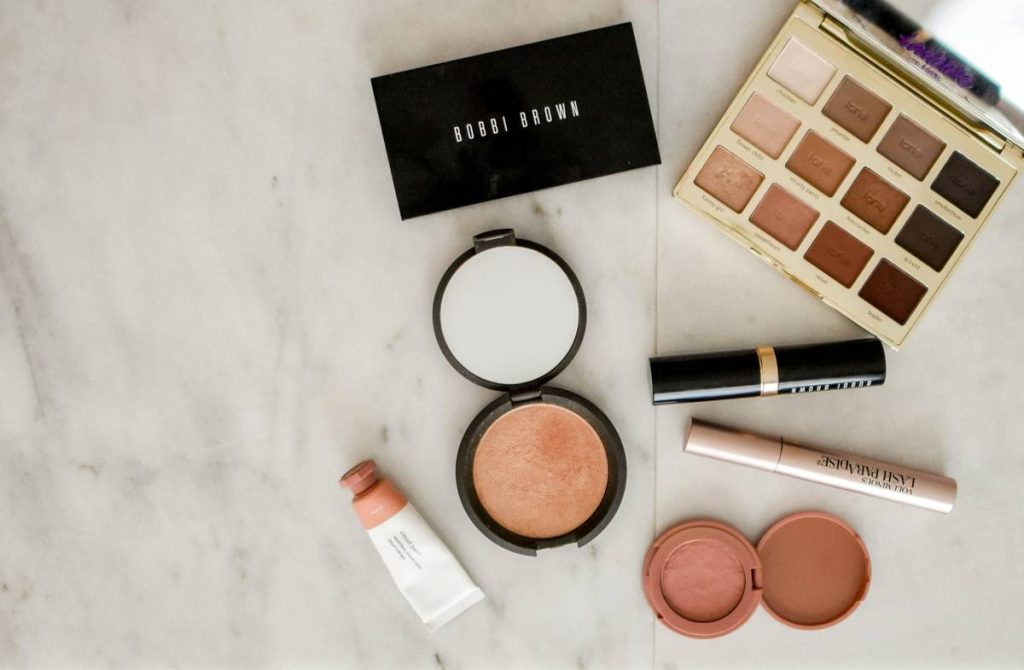
Ditch the 48-color palette. You need three core colors: deep burgundy (not bright red), desaturated teal (for bruising), and a grayish taupe (for dead tissue). Add translucent powder—matte finish is non-negotiable.
Build Dimension First, Color Later
Texture comes before pigment. Apply a thin layer of spirit gum or gelatin mix to create raised edges. Let it tack-dry. Then stipple the center with cotton balls torn into tiny tufts—this mimics torn dermis. Press gently. Don’t smooth it out.

Layer Colors Like a Forensic Illustrator
Start dark at the wound’s core. Blend outward toward inflamed edges. Use a dry brush—wet application spreads too evenly. Add tiny specks of yellow near the perimeter; that’s where healing (or decay) begins. Then seal with setting spray—never hairspray. It yellows under UV light.
| Method | Cost | Realism Score (1–10) | Longevity |
|---|---|---|---|
| Liquid Latex + Food Coloring | $5 | 3 | 2–3 hours |
| Gelatin + Pros-Aide + Alcohol-Activated Paints | $25 | 9 | 8+ hours |
| Cotton & Spirit Gum Base + Powder Pigments | $18 | 8 | 6–7 hours |
The Industry Secret: Decay Isn’t Just Red
Hollywood SFX artists never use pure red in open wounds—it reads as fresh, not necrotic. Real decomposition shifts toward brown-violet within hours. Mix burnt umber with a touch of ultramarine blue. Then dust the outer rim with matte black eyeshadow (yes, really)—it creates shadow depth without looking painted. And here’s the kicker: add a single drop of glycerin to the wound center. It mimics wetness but won’t smear like fake blood. The math is simple: moisture = life. Even dead tissue glistens slightly.
Frequently Asked Questions
How do you make zombie wounds last all night?
Seal with alcohol-based setting spray after each layer. Avoid touching. Re-powder if you sweat.
Can you make zombie wounds without latex?
Absolutely. Gelatin, cotton, and spirit gum work better—they’re more flexible and less likely to crack.
What’s the best fake blood for zombie wounds?
Mix clear corn syrup, cocoa powder, and a few drops of red food dye. Too much red looks theatrical, not traumatic.