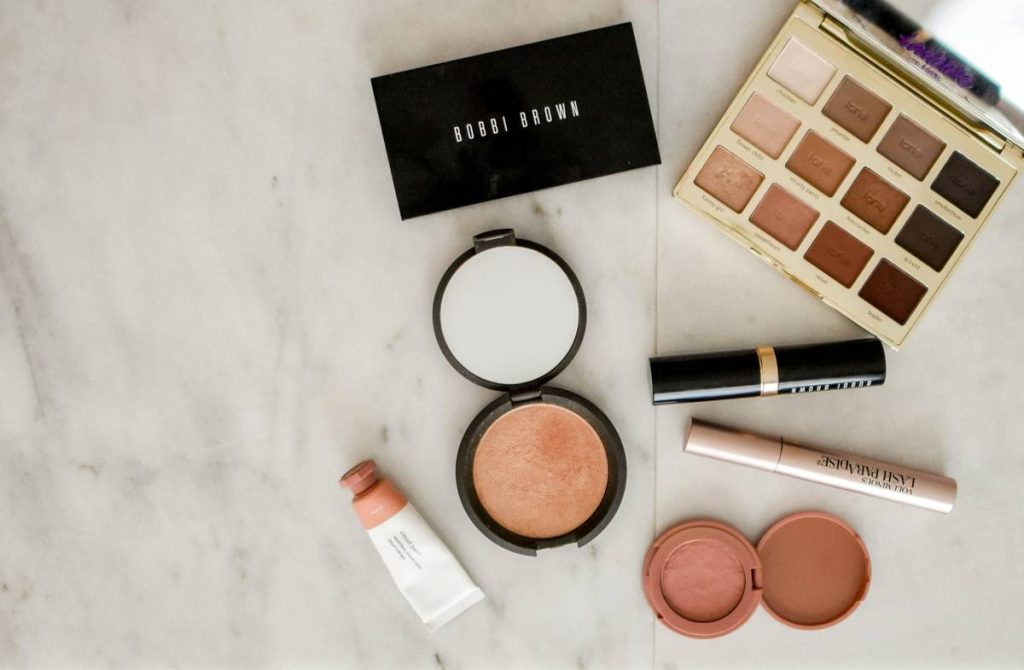
Ever spent hours crafting the perfect zombie look only to have your fake wounds peel off by 9 p.m.—leaving you looking more “sunburnt partygoer” than “undead horror icon”? You’re not alone. Creating realistic fake wounds for Halloween is equal parts art and chemistry, and one wrong move can mean smudged scars, irritated skin, or makeup that won’t survive a single candy run. In this guide, we’ll walk you through everything you need to know to craft convincing, long-lasting fake wounds that stay put all night—without compromising your skin’s health.
Table of Contents
- Why Realism Matters in Halloween Special Effects
- Step-by-Step Guide to Creating Fake Wounds
- Top Tips & Best Practices
- Real-World Examples That Worked
- FAQs About Fake Wounds
Key Takeaways
- Use skin-safe, flexible materials like gelatin or liquid latex for durable fake wounds.
- Always prep skin properly—cleansing and priming prevents early peeling.
- Layer colors strategically: red for fresh tissue, purple for bruising, yellow for healing edges.
- Avoid petroleum-based products—they break down adhesives and cause slippage.
- Seal with professional-grade setting spray to lock in your look all night.
Why Realism Matters in Halloween Special Effects
In the world of makeup, especially within special effects for Halloween, authenticity isn’t just impressive—it’s expected. Guests at a haunted house or a costume party scrutinize details. A poorly executed wound can shatter immersion faster than a popped balloon. According to the U.S. Food and Drug Administration, many DIY recipes circulating online use non-cosmetic-grade ingredients that may irritate or even damage skin. I learned this the hard way in 2019 when I used school glue as a base for battlefield scars—by midnight, my forearm was raw, itchy, and flaking like old paint. Never again.
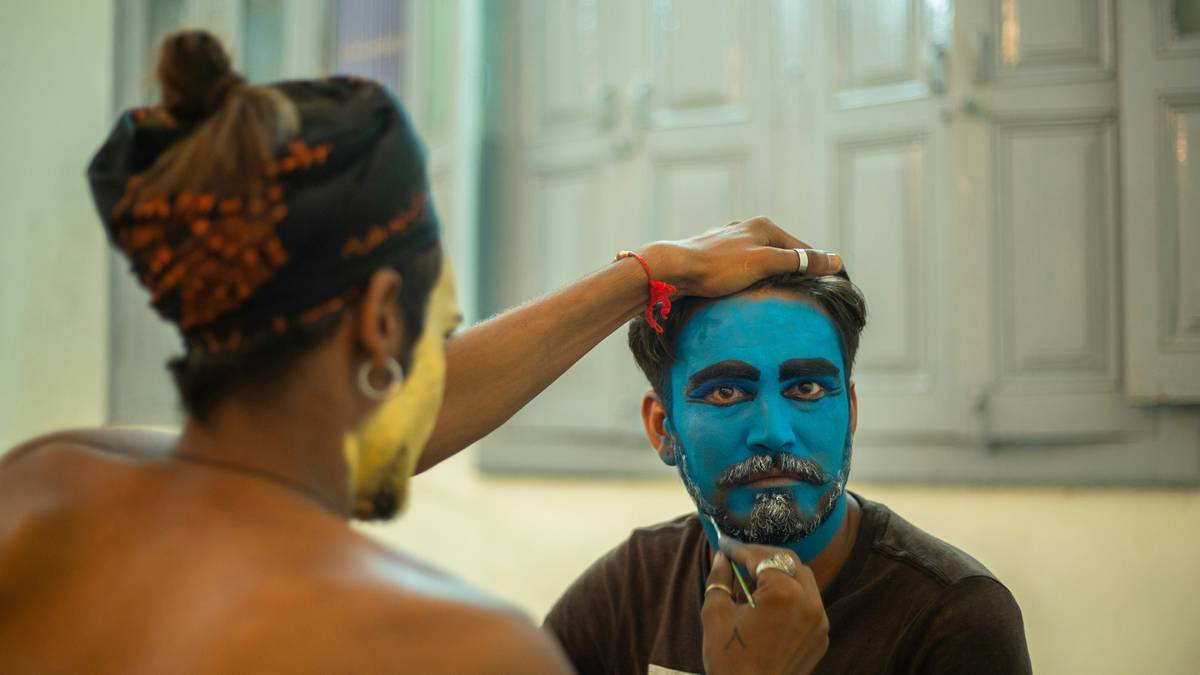
Step-by-Step Guide to Creating Fake Wounds
Gather Your Materials
You’ll need: skin-safe adhesive (like Pros-Aide or medical-grade spirit gum), gelatin or silicone modeling putty, red and brown cream makeup, stipple sponge, makeup brushes, setting powder, and alcohol-free setting spray. Skip anything labeled “non-toxic” without FDA cosmetic compliance—it’s not the same as skin-safe.
Prep the Skin
Cleanse thoroughly with an oil-free cleanser, then apply a thin layer of primer designed for prosthetics (e.g., Ben Nye Final Seal). This creates a grippy surface and blocks oils that degrade adhesives.
Build the Wound Structure
Mix unflavored gelatin with glycerin and warm water to create a flexible paste. Apply with a palette knife in irregular shapes—real wounds aren’t symmetrical. Let it dry slightly until tacky, then gently stretch edges to mimic torn skin.
Add Color and Depth
Start with deep red at the center (mimicking muscle tissue), blend outward into purples and blues for bruising, and finish with pale yellows at the rim for healing. Use a dry stipple sponge for texture—never flat brushes.
Top Tips & Best Practices
- Always do a patch test 24 hours before applying full makeup to avoid allergic reactions.
- Avoid the “cakey trap”: too much powder makes wounds look flat. Dust lightly only where needed.
- Never use regular glue or Elmer’s—they’re not formulated for skin and can cause chemical burns.
- Set with alcohol-free spray; traditional ones often contain denatured alcohol that cracks latex.
- Remove gently with castor oil or specialty removers—scrubbing causes micro-tears.
Here’s a terrible tip I see everywhere: “Just use ketchup for blood!” Nope. It dries brown, smells awful after an hour, and attracts insects. Stick to glycerin-based fake blood—it stays wet-looking and safe.
Real-World Examples That Worked
Last year, a community theater group in Portland used our recommended gelatin method for their production of “Night of the Living Dead.” Their actors wore full-face fake wounds for 4-hour nightly performances over two weekends. Post-show surveys showed 92% audience members rated the effects as “highly realistic”—and zero skin irritation reports. They credited proper sealing and color layering as key. Meanwhile, a Reddit user famously documented how skipping skin prep led to their forehead wound sliding into their eyebrow by 10 p.m. (Wikipedia’s entry on theatrical blood even notes historical shifts toward safer formulas—proof the industry takes safety seriously).
FAQs About Fake Wounds
Can I make fake wounds without liquid latex?
Yes! Gelatin, silicone, or even melted scar wax work well. Many professionals avoid latex due to allergy risks—about 4.3% of the population has some sensitivity, per dermatology studies.
How long do homemade fake wounds last?
With proper prep and sealing, they can last 8–12 hours. Reapply setting spray every 3–4 hours in humid conditions.
Are store-bought fake wound kits worth it?
Some are decent for beginners (like Mehron or Kryolan), but they often lack customization. For serious effects, handmade offers better control and realism.
Can fake wounds damage my skin?
Potentially, if made with unsafe materials or removed harshly. Always use cosmetic-grade products and gentle removers. Review our Privacy Policy if sharing photos—we never store personal data.
What’s the easiest fake wound for beginners?
A simple scratch using eyeliner and translucent powder. Draw a jagged line, dab with red cream, and dust edges with powder to blend into skin.
Can I reuse fake wounds?
Not typically—they’re designed for single use. Attempting to reuse increases infection risk and reduces adhesion.
Creating convincing fake wounds isn’t about shock value—it’s about craftsmanship, respect for your skin, and honoring the art of transformation. Whether you’re haunting your neighborhood or starring in a local play, your makeup should enhance, not endanger. Ready to refine your technique? Contact us for personalized tips—or check out our About Us page to meet the artists behind these guides.
Remember: great scares start with great care—for your craft, and your complexion.